Replace cracked caulk before photo day
Cracked caulk shows up in close photos. Replace it while the repair list is still short.
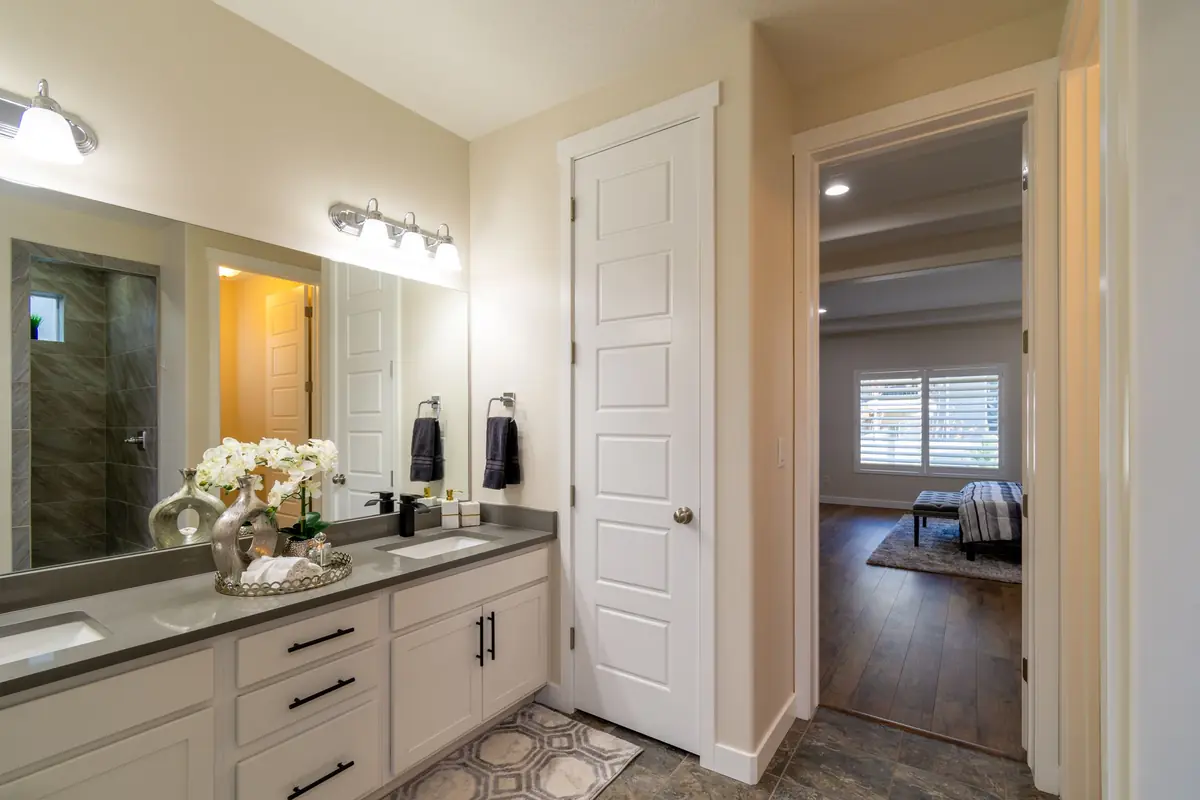
Walk the wet joints with the lights on before photo day. Look along the tub, the shower, the kitchen sink, and the backsplash where the counter meets the wall. Cracked or missing caulk reads as a leak in a close photo even when the wall behind it is dry. Put each joint on one line: sound, cracked, or missing. You only recaulk the lines that fail.
Pull the old bead out instead of smearing new caulk over it. A plastic scraper or an old card lifts most of it. Wipe the joint and let it dry. If the gap is still damp the next morning, you do not have a caulk job. You have a leak, and it belongs on the function list. Soft drywall or a stain that keeps returning is the same stop. Do not photograph a fresh bead over a wet wall.
Lay a thin line, not a thick smear. Tape both edges if your hand wanders, run the bead, then smooth it with a damp finger and pull the tape. A tube of kitchen and bath caulk is often under $10, and a tube is enough for a tub and a sink if you are not filling a wide gap. A thick ridge photographs as a repair. A thin line photographs as a finished joint. Let it cure before anyone runs that shower.
When the joint is dry, take one close photo for the repair folder and one wider photo the way the listing will show the room. If the old caulk was stained but the new line is clean, you do not need a new surround. If the pan or the tile is soft, stop and price that repair before you spend the afternoon on a bead. Write the finished joints on the photo list so you remember to shoot them in daylight.
What to do
- Check every wet joint with the lights on and mark the ones that are cracked or missing.
- Remove the old bead and let the joint dry before you recaulk.
- Lay a thin line, and stop if the wall behind it is soft.
- Photograph the finished joint for the repair folder.